Multi-Factor Authentication (MFA)
Multi-Factor Authentication (MFA) is required when logging into Office 365 to enhance account security.
You will need a smart phone to setup the authenticator app.
MFA Setup Guide
-
Before you start, on your mobile device Download & install the Microsoft Authenticator app.
-
Sign in to your account on a computer (laptop or desktop). Login to Microsoft account.
-
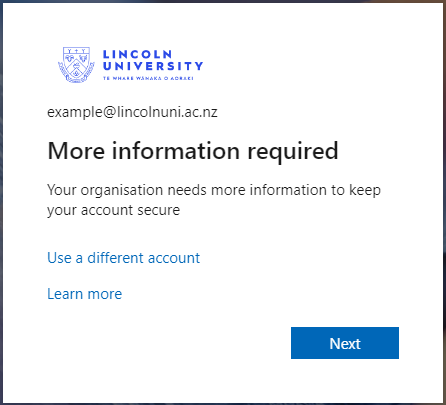
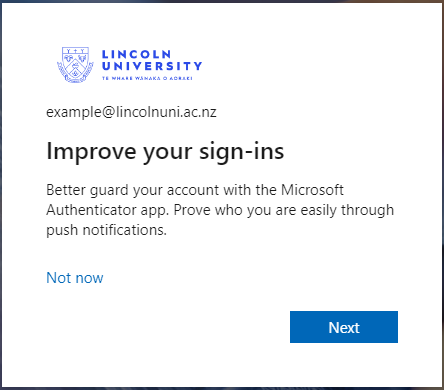
When you see prompt such as "More information required" or "Improve sign-in experience" as shown below.
Continue selecting "" until you reach the "Scan the QR code page".

-
In the authenticator app on your phone, select + Add account.
-
Choose the account type "Work or school account" and select Scan a QR code.
-
Scan the code shown on the screen in step 3.
-
Select Finish on the computer to complete the setup.
Important:
We strongly advise having a minimum of two authentication methods.
To do this, please refer to the "Not receiving prompts?" instructions below to access your "Microsoft Security info" page. Then, proceed with the provided guidance to add an additional method, where you can select either "Phone" or "Email".
Not getting prompted?
Login directly into Microsoft Security info page.
On Security info page, + Add sign-in method at the top of the page.
On the Add a method prompt, select Authenticator app from the list, and then select Add.
Continue selecting "Next" until you reach the "Scan the QR code page".
Proceed with the steps above.
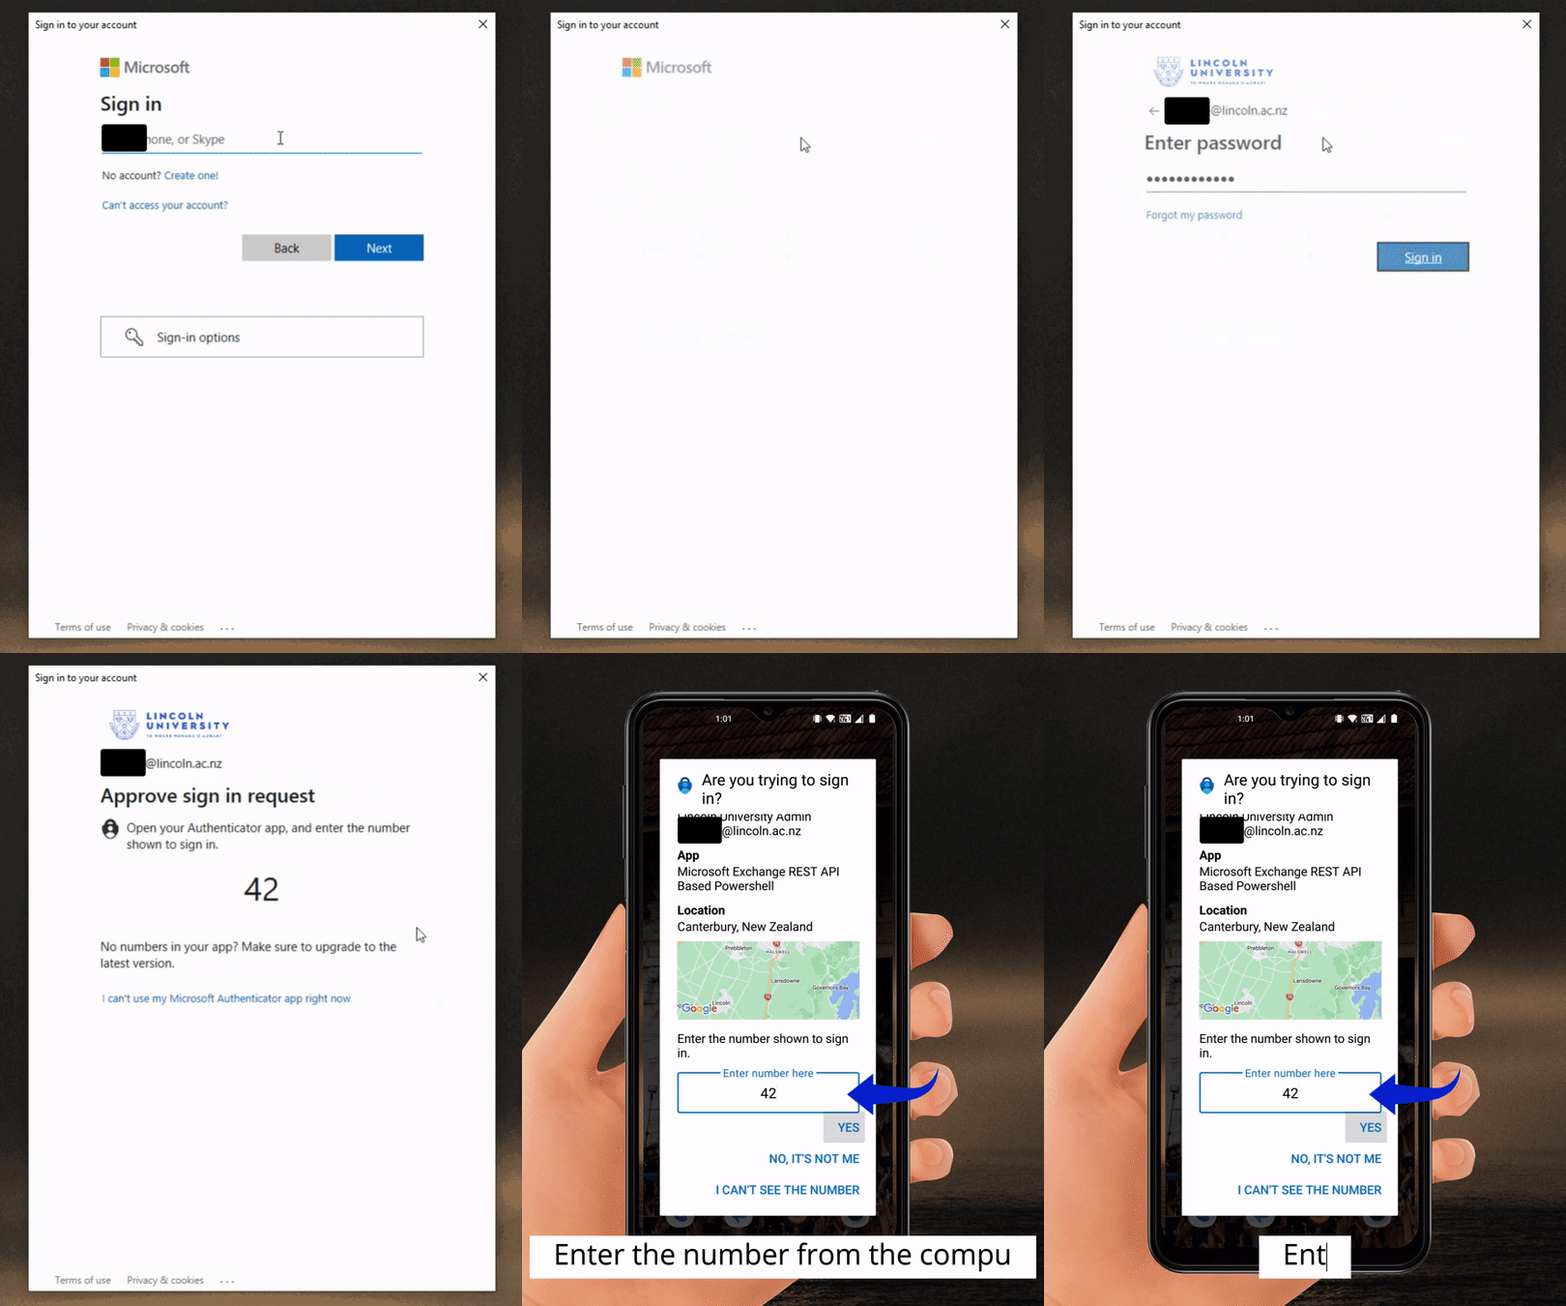
Example Approval Process of MFA

|
|

